How to Use a Book Embosser?
How to Use a Custom Book Embosser?
👉 **Explore Custom Embossers **
200+ Premade designs for you!
Using a book embosser is a simple and effective way to add a professional or personal touch to your books, documents, or albums. While the process is straightforward, paying attention to a few key details can make a big difference in the quality of the final impression. Whether you're using a handheld or a desk model, this step-by-step guide will help you achieve clean, elegant, and lasting results.
Step 1: Choose Your Design
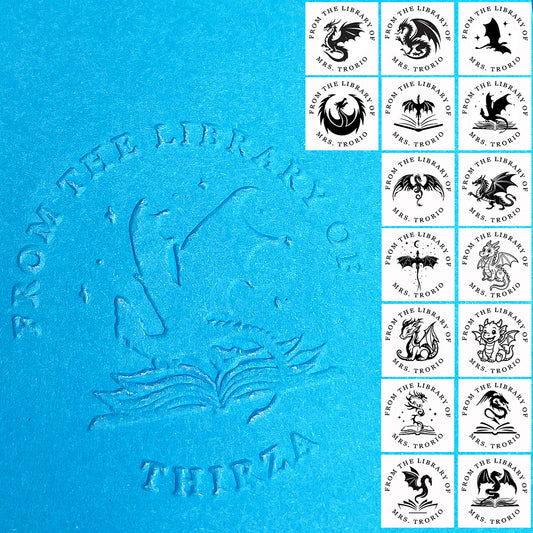
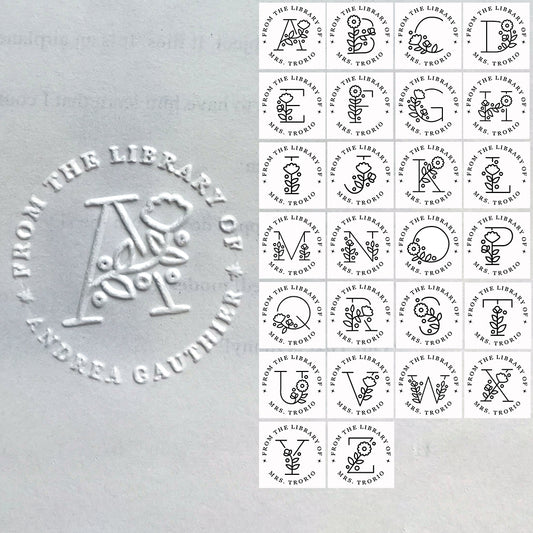
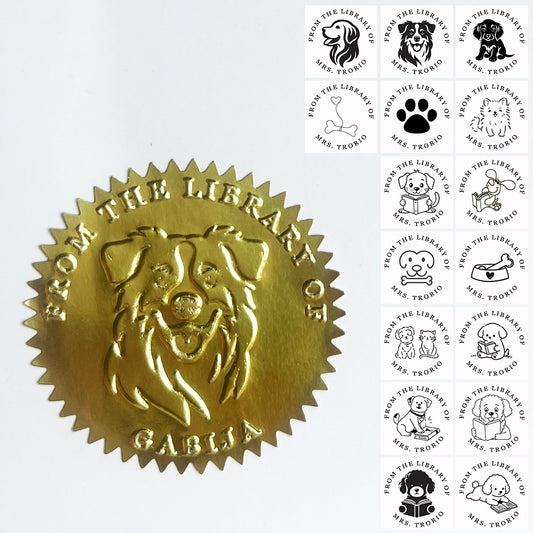
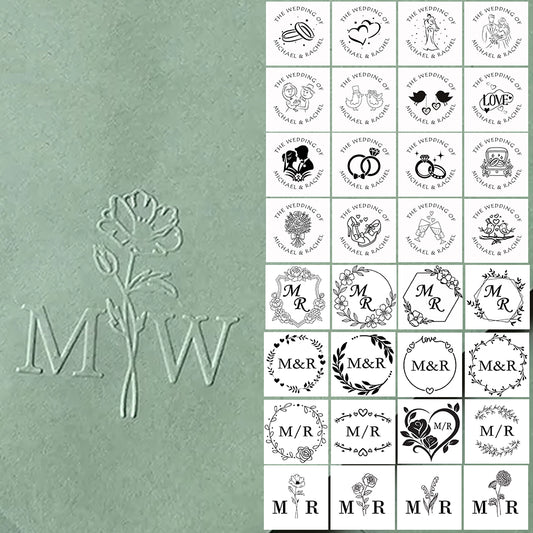
Before you begin embossing, take some time to select a design that suits your style or purpose. Most companies that manufacture embossers offer customization options. You can choose to emboss your full name, your initials, a logo, or even a meaningful short quote.
Think about the size and font of the text. Simple and classic fonts often work best because they are clear and easy to read. If you are using a logo, make sure it is not too detailed. Small or complex designs may not show up clearly after embossing. Also, consider the purpose of the embossing. If it’s for a personal library, your name or a simple symbol may be perfect. If it’s for a business or organization, a logo or official name might be more suitable.
Remember, once your custom book embosser is made, the design cannot be changed. So, choose wisely!
Step 2: Select the Right Spot
Where you place the embossed mark is very important. You want it to be visible but not distracting. The most common locations are the lower corner of the cover or the first inside page. Some people also emboss the title page or the inside back cover.
Make sure the paper you choose is thick enough. Thin pages may tear or not hold the impression well. If you are embossing on the cover, test on a similar material first if possible. Also, avoid areas with text or images, as the embossing could cover them up or make them difficult to read.
A good tip is to use a pencil to lightly mark the spot where you want the impression. This helps you position the embosser accurately.
Step 3: Prepare Your Embosser
Preparation is key to a clean embossed image. The steps vary slightly depending on whether you are using a handheld or a desk embosser.
For a Handheld Embosser:
Open the embosser by pressing the handles together to separate the plates. Place the book on a flat, hard surface. Open it to the chosen page and carefully position the embosser where you want the design. Make sure the embosser is aligned correctly. Check that it isn’t tilted and that the design will be straight.
For a Desk Embosser:
Desk embossers are larger and usually more powerful. Place your book or document on a firm and flat surface. Slide the embosser over the edge of the page you want to emboss. Adjust it until it is in the right position. Desk models often have guides or markers to help you align the design properly. Make sure the page is lying flat and isn’t folded or wrinkled.
For both types, double-check the alignment before applying pressure. A misaligned embossing stamp can create a crooked or blurred impression.
Step 4: Emboss Your Book
This is the main step. Apply firm and even pressure to make a clear impression.
Using a Handheld Embosser:
Hold the embosser steady with one hand if needed. Squeeze the handles together firmly and evenly. Do not release too quickly. Hold the pressure for a few seconds to allow the design to press deeply into the paper. If you press too lightly, the impression may be faint. If you press too hard, especially on thin paper, you might damage the page.
Using a Desk Embosser:
Hold the book or paper in place with your free hand. Pull the lever down in one smooth and steady motion. Desk embossers are designed to use mechanical advantage, so you don’t need extreme force. Let the tool do the work for you. Pushing too hard or too fast might cause the paper to slip or the impression to be uneven.
Step 5: Check Your Work
Gently release the embosser and remove it from the paper. Examine the embossed area. It should be raised and well-defined. If the impression is light or incomplete, you may need to apply more pressure next time. If it is misaligned, adjust the position before trying again.
If you’re not happy with the result, don’t worry. Embossing is a skill that improves with practice. Try on a spare piece of paper or an old book first until you feel confident.
Additional Tips for Success
Practice First: Always test your embosser on a sheet of paper with similar thickness before embossing your actual book.
Store Properly: Keep your embosser in a dry place to prevent rusting. Clean the plates occasionally to avoid ink or dust buildup.
Use Steady Support: Always work on a hard, flat surface like a wooden or plastic table. Soft surfaces may not provide enough support for a clear impression.
Be Patient: Take your time with alignment and pressure. Rushing can lead to mistakes.
Embossing your books is a wonderful way to mark ownership, create a gift, or simply add elegance to your collection. With a little practice, you’ll be able to use your book embosser quickly and efficiently, producing professional-looking results every time.