How to Customize Your Own Book Embossing Tool?
In today's era of ubiquitous social media, a meticulously bound physical book bearing your personal imprint carries an irreplaceable sense of quality and emotion. Customizing a book name embosser is more than just purchasing a tool; it's about infusing your cherished books, personal works, or business brand with an enduring soul. When the book embossing tool leaves a clear and deep imprint on the book cover, a sense of exclusive prestige and satisfaction arises spontaneously.
So, how do you create a custom embossing stamp for books that perfectly matches your vision? Follow our guide to explore this creative process step by step.

Conceptualization and Design
Conceptualizing your desired design is the core and most creative step in the entire customization process. A good design is the foundation of successful embossing.
1. Determine the Embossing Content
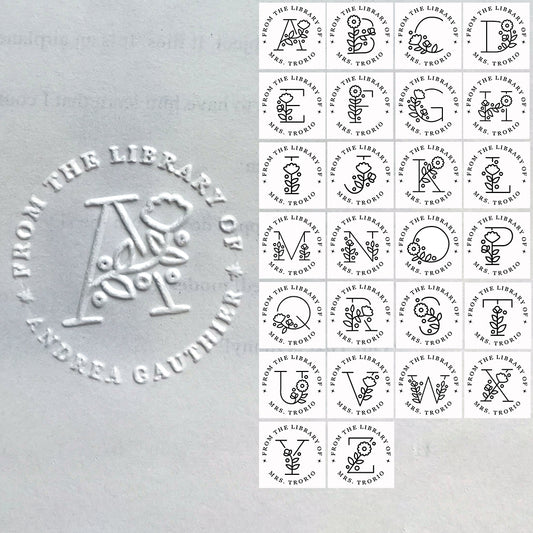
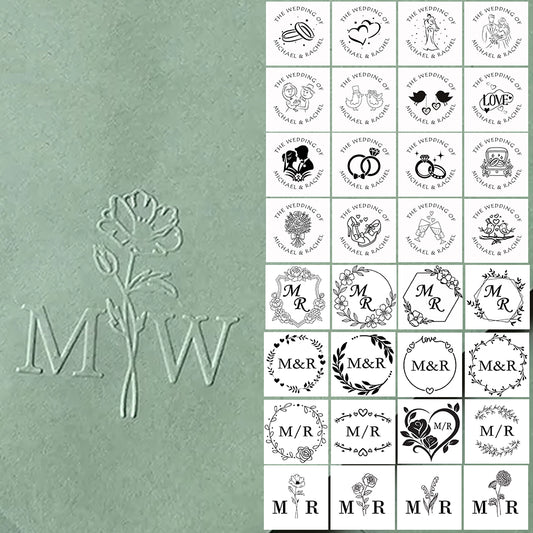
Name or initials: This is the most common choice. Initials typically consist of 2 to 3 letters and, when designed properly, can be very elegant.
Logo or Badge: If you are a creator, brand owner, or family, you can use your own logo or family crest.
Signature: Having your handwritten signature embossed is highly personal and a design many people appreciate.
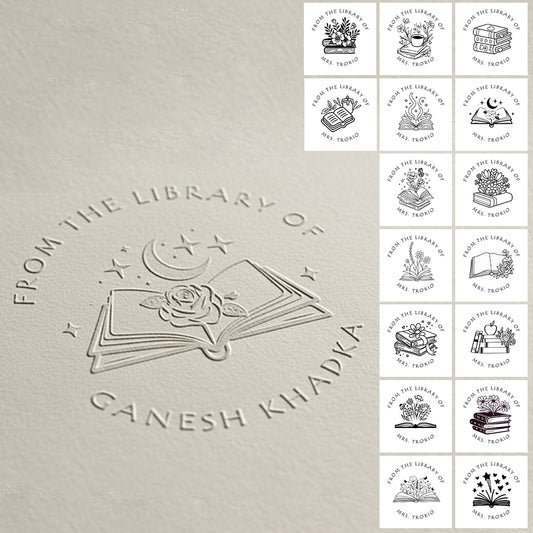
Short Message or Date: Such as "Ex Libris" (Latin for "from XX's collection of books"), commemorative dates, etc.
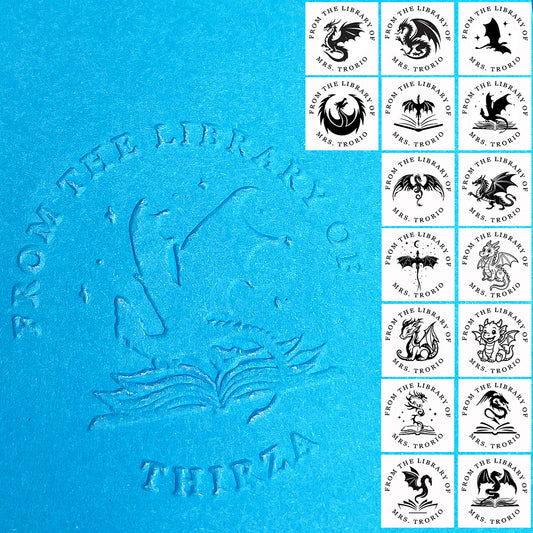
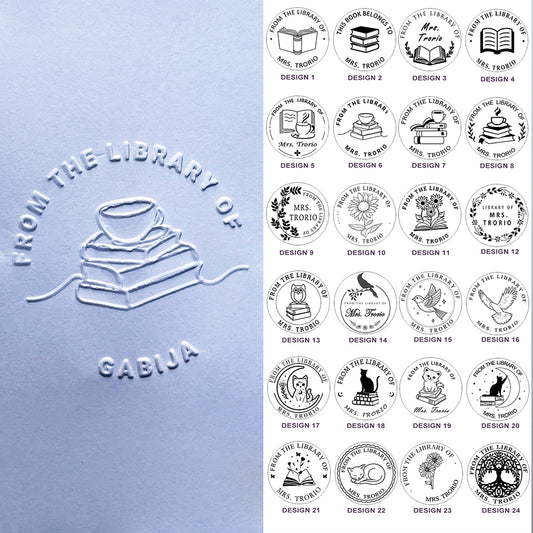
Minimalist Graphics: Such as a leaf, a cat, a mountain, etc., symbolizing your personality or beliefs.
2. Adhere to Design Principles
Simplicity is Key: Embossing creates a raised or recessed effect through physical pressure. Overly complex patterns with excessively fine lines may not be clearly rendered during embossing and could even be easily damaged. Stick to clear, strong lines.
Consider Negative Space: Design is not just about the lines themselves; the space between the lines (negative space) also constitutes the pattern. Ensure that the negative space doesn't become cluttered due to being too small or too dense.
Choose a Style: Is your design classic, modern, or minimalist? Ensure it harmonizes with the style of most of your books or your personal style.
3. Creating Design Files
Vector Graphics: This is the most critical technical requirement. Vector graphics (such as .AI, .EPS, .SVG formats) use mathematical equations to define shapes, allowing for infinite scaling without distortion. This ensures that the edges of the design remain absolutely sharp and clear, regardless of the size of your imprinter.
Flat Graphics: Using bitmap formats such as .JPG, .PNG, and PDF, these are composed of pixels. When enlarged, they may exhibit jagged edges, resulting in less precise images, but this does not affect usability.
Seeking Professional Assistance: If you are unfamiliar with design software, clearly explain your ideas to us. Our design team can provide professional sketches and suggestions, and generate qualified vector files for you.
Selection and Confirmation – Refining the Details
Once the design is finalized, the next step is to choose a suitable "carrier" for your design.
1. Choosing an Imprinter Type
Date Stamp Type: The most common type, a push-button type, suitable for single, precise imprinting.
Roller-type: Like a roller, it can roll continuous patterns onto the spine or large cover area, suitable for decorating the spine.
Hot Foil Stamping vs. Braille Embossing
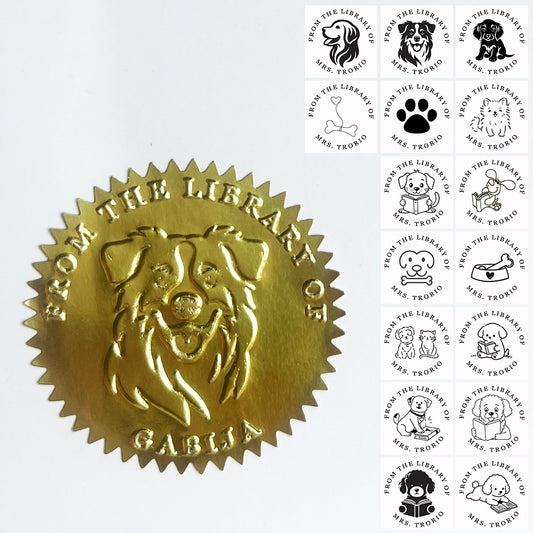
Hot Foil Stamping: The embossing head can be heated, and when used with gold, silver, black, or other colored foil, it produces a colorful, dazzling effect, exuding luxury.
Braille Embossing: No heating or foil is used; it relies purely on pressure to leave raised or recessed marks on the paper. This method has a restrained, classic feel, full of handcrafted warmth.
2. Determine Specifications and Materials:
Embossing Area: Choose the appropriate embossing area based on the complexity of your design and the intended use. Common sizes include 2.5cm and 3.8cm in diameter.
Handle Material: High-quality solid wood (such as walnut or cherry) and metal are usually available. This not only affects aesthetics but also hand comfort and durability.
Imprint Material: High-quality brass is the preferred material for impressions. Its high hardness and wear resistance allow for the engraving of extremely fine details, ensuring clarity even after thousands of impressions.
3. Review and Confirm the Rendering
Before we begin production, you will receive a detailed confirmation document, including a final rendering based on your design. Please carefully check:
All letters are spelled correctly.
The orientation and layout of the pattern meet expectations.
Sign to confirm everything is correct. This step is crucial to avoiding any subsequent errors.
Use and Care – The Art of Presentation
After receiving your carefully crafted impression press, proper use and care will ensure its longevity.
1. Testing and Practice
Practice on some scrap paper or an old notebook before using it on your precious books.
Find the optimal pressure and (if it's hot stamping) heating time. Too little pressure will result in a blurry image; too much pressure may damage the book cover.
1. Ensure there is a solid support under the book cover (such as a hardboard) to ensure even pressure.
2. Maintenance Instructions:
Cleaning: After use, gently wipe the surface of the stamp with a soft, dry cloth, especially removing any foil residue that may remain after heat stamping.
Storage: Store in a cool, dry place, preferably in a protective bag or box, to prevent the stamp from colliding with other hard objects.
Conclusion
Custom library stamp is a journey of transforming a personal imprint into a timeless object. From the initial spark of inspiration to the weighty, exquisite tool in your hands, and finally to each book on the shelf bearing its unique story, the process itself is filled with the joy of creation.
Believe that your patient design combined with our exquisite craftsmanship will create a stationery item that is not only practical but also worthy of being passed down through generations. Now, start brainstorming your exclusive design; we are ready to bring your unique idea to life.